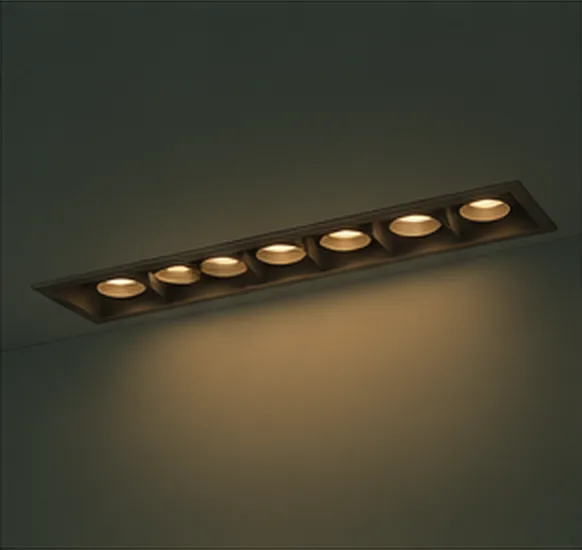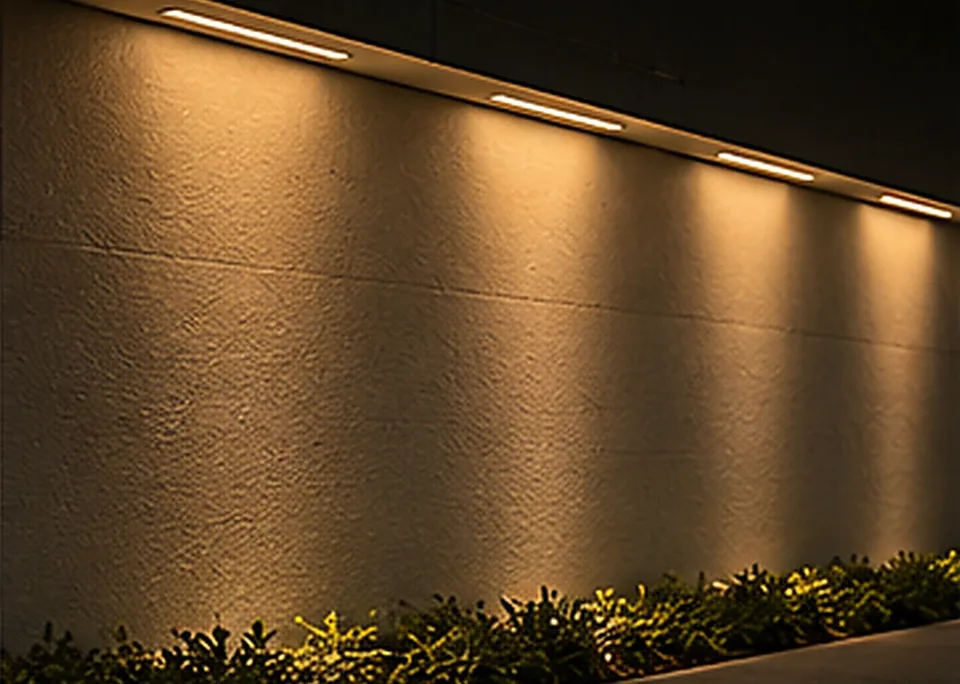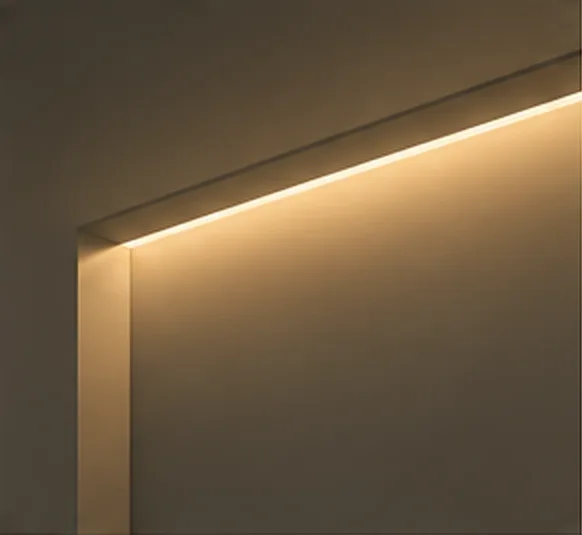
You may have heard both terms used for the same thing: LED strip, profile light, profile patti, cove light. They're related, but they are not identical. And confusing them can leave a finished detail looking very different from the smooth line of light you imagined.
A simple distinction helps: an LED strip is the light source; an LED profile is typically the channel or housing that helps position and present it.
What an LED strip does
An LED strip is a flexible circuit carrying LEDs along its length. Strips come in different constructions, output levels, colours and electrical requirements. They are used in coves, shelving, joinery and other linear details where a conventional fixture may not fit the visual brief.
Not every strip can be bent around every curve, cut at any point or installed in any environment. Manufacturers specify cutting locations, bending limits, compatible drivers and electrical requirements. These details should be checked before the strip is built into expensive furniture.
What the profile changes
A profile is commonly an aluminium channel that holds the LED strip and may include a diffuser, end caps or mounting parts. It can help create a clean architectural edge, protect the strip mechanically and support appropriate thermal management when designed for the application.
The diffuser matters more than many people expect. It changes how the individual LEDs are seen and how the light leaves the channel. Depending on the strip density, spacing, diffuser depth and material, a profile may create a smooth line or still show visible points.
So when someone asks for a “dot-free” result, don't assume any diffuser will do. Ask to see the proposed strip-and-profile combination operating together.
Not every luminous line is a profile light
A cove often hides the source entirely and uses the ceiling or wall to reflect light into the room. A surface profile can form a visible linear element. A recessed profile may appear integrated into a wall or ceiling. These details create different effects even with a similar strip inside.
The surrounding surface is part of the optical system. A shallow cove with a rough finish may reveal hotspots and irregular reflections. A beautifully detailed recess may give a softer effect without the strip ever being directly visible.
Heat, drivers and service access
LEDs and their drivers produce heat. Whether an aluminium channel is suitable depends on the strip and the complete assembly, not the mere presence of metal. Use a manufacturer's installation guidance for mounting and heat management, especially in enclosed joinery or compact coves.
Drivers need the correct electrical characteristics for the strip and should remain appropriately accessible. Long runs can also require thought about voltage drop, feed positions and consistent appearance. These are design-and-installation decisions for a qualified professional, not details to improvise after the ceiling is closed.
Why profiles sometimes disappoint
The common problems are easy to recognise: visible LED dots, inconsistent brightness along a long run, an overexposed diffuser, a profile that protrudes awkwardly from the joinery, or an inaccessible driver.
Most of them begin with a mismatch between the visual intention and the selected components. A carefully photographed reference tells you what the finished result should look like, but it doesn't tell you which exact strip, channel, depth and power arrangement were used.
How to specify the result you want
Start with the effect. Do you want a hidden reflected glow, a visible continuous line, shelf illumination or a feature outline? Decide where the light should land and where the source should remain invisible.
Then choose a compatible strip, profile, diffuser and driver based on actual supplier documentation. Test a sample against the real finish if the visual result is important. Confirm service access and installation details early.
Look at the profile from the side
A short sample on a table is rarely enough to assess a linear detail. The real question is whether you see the luminous surface, its individual LEDs or a smooth reflection in the surrounding material when standing in the room.
For cabinetry, inspect the light with doors open and closed. For a ceiling cove, examine the edge from opposite sides of the space. Sometimes a tiny change in positioning makes a large improvement in visual comfort.
Good linear lighting often looks almost effortless. That's usually because the little construction decisions were made carefully long before the light was switched on.
Explore the lights: Architectural lighting
Have a lighting requirement? Ask us on WhatsApp.